HTTP Monitor deployed on DigitalOcean Functions
Did you know this AWS Lambda alternative?


Fellas, let's continue exploring serverless services now with Digital Ocean cloud provider. This is a more useful practice than the previous ones, we will deploy a function scheduled to run every X minutes to reach a Website/API via HTTP. In case the service is down or the response is not the expected one we will send an email to selected recipients to inform the downtime of the service.
Requirements:
DigitalOcean account and a personal access token
Install and configure the doctl (DO CLI) tool so we can authenticate and run commands
For the email sending you will need AWS SES API keys as well as an authorized sender (this may be optional, or you can adapt the code to use another mail provider).
Assuming you already met the requirements let's start coding.
Run npm init to generate a package.json file
Install the axios (required) and aws sdk (optional) packages
 npm install --save axios
 npm install --save aws-sdk
index.js file
 const axios = require("axios");
 const aws = require("./aws_ses");

 async function main(args) {
   const response = await axios.get("https://google.com");

   if (response.status !== 200) {
     await aws.sendEmail(
       [
         "recipient-email@gmail.com",
       ],
       "Website Monitor"
     );
     return {success: false, message: "Service is down!"};
   }

   return {success: true, message: "Service is up and running"};
 }

 exports.main = main;
aws-ses.js file
 const aws_sdk = require("aws-sdk");

 const AWS_SES = new aws_sdk.SES({
   accessKeyId: process.env.SES_ACCESS_KEY,
   secretAccessKey: process.env.SES_SECRET_KEY,
   region: process.env.SES_REGION,
 });

 async function sendEmail(recipientEmails, serviceName) {
   let params = {
     Source: 'your-authorized-sending-email@gmail.com',
     Destination: {
       ToAddresses: [
         ...recipientEmails
       ],
     },
     ReplyToAddresses: [],
     Message: {
       Body: {
         Html: {
           Charset: 'UTF-8',
           Data: `<h3>Hello admin, the service ${serviceName} is not working as expected. <br> The monitor failed at
                 ${new Date().toLocaleDateString()} ${new Date().toLocaleTimeString()}. Please check if everything is OK.</h3>`,
         },
       },
       Subject: {
         Charset: 'UTF-8',
         Data: `Website Monitor: Service not working properly`,
       }
     },
   };
   return AWS_SES.sendEmail(params).promise();
 }

 exports.sendEmail = sendEmail;
project.yml file
 parameters: {}
 environment:
   SES_ACCESS_KEY: "${SES_ACCESS_KEY}"
   SES_SECRET_KEY: "${SES_SECRET_KEY}"
   SES_REGION: "${SES_REGION}"
 packages:
     - name: sample
       shared: false
       environment: {}
       parameters: {}
       annotations: {}
       functions:
         - name: "hello"
           triggers:
             - name: "5 Minutes Trigger"
               sourceType: scheduler
               sourceDetails:
                 cron: "*/5 * * * *"
           binary: false
           main: ""
           runtime: nodejs:18
           web: true
           webSecure: false
           parameters: { }
           environment: { }
           annotations: { }
           limits:
             memory: 512
             timeout: 6000
This file allows us to set more function configurations like the memory we need, the timeout, access via web, authentication with token, runtime, triggers and more. For this specific example, we are deploying a javascript function whose runtime is node v18, with 512 MB of memory and a timeout of 6s. Also, it has a scheduler for automatic execution running every 5 minutes. Here you have the full reference https://docs.digitalocean.com/products/functions/reference/project-configuration/
.env file
 SES_ACCESS_KEY=
 SES_SECRET_KEY=
 SES_REGION=
It is important to place the .env file in the root of the project
Project structure
 example-project
 ├── project.yml
 └── .env
 └── packages
     └── example-package
         └── example-function.php
Up to this point with everything in place we are ready to deploy our function
doctl serverless deploy <example-project>This command will deploy every function for every package you have in the <example-project>. You could use the flags --include or --exclude to specify packages/functions. Full reference here: https://docs.digitalocean.com/reference/doctl/reference/serverless/deploy/
After a successful deployment head to the DO console, and you should be able to see a list similar to this one under Functions page:
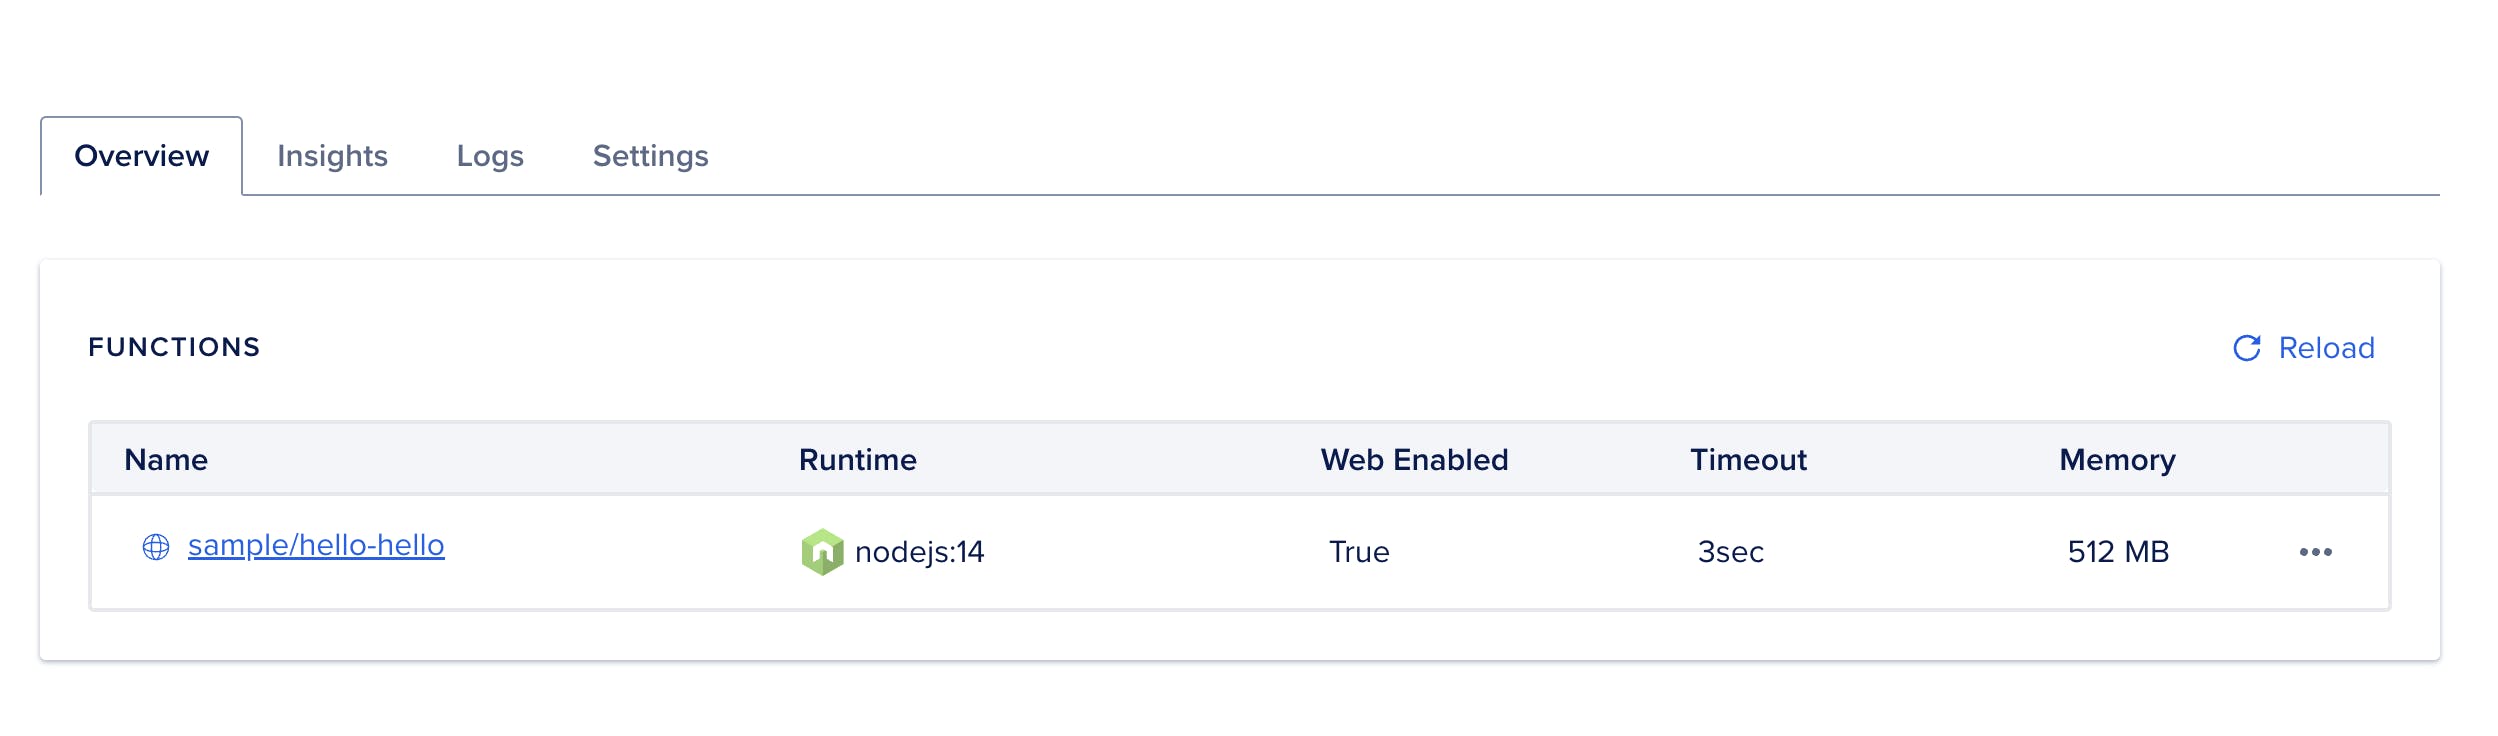
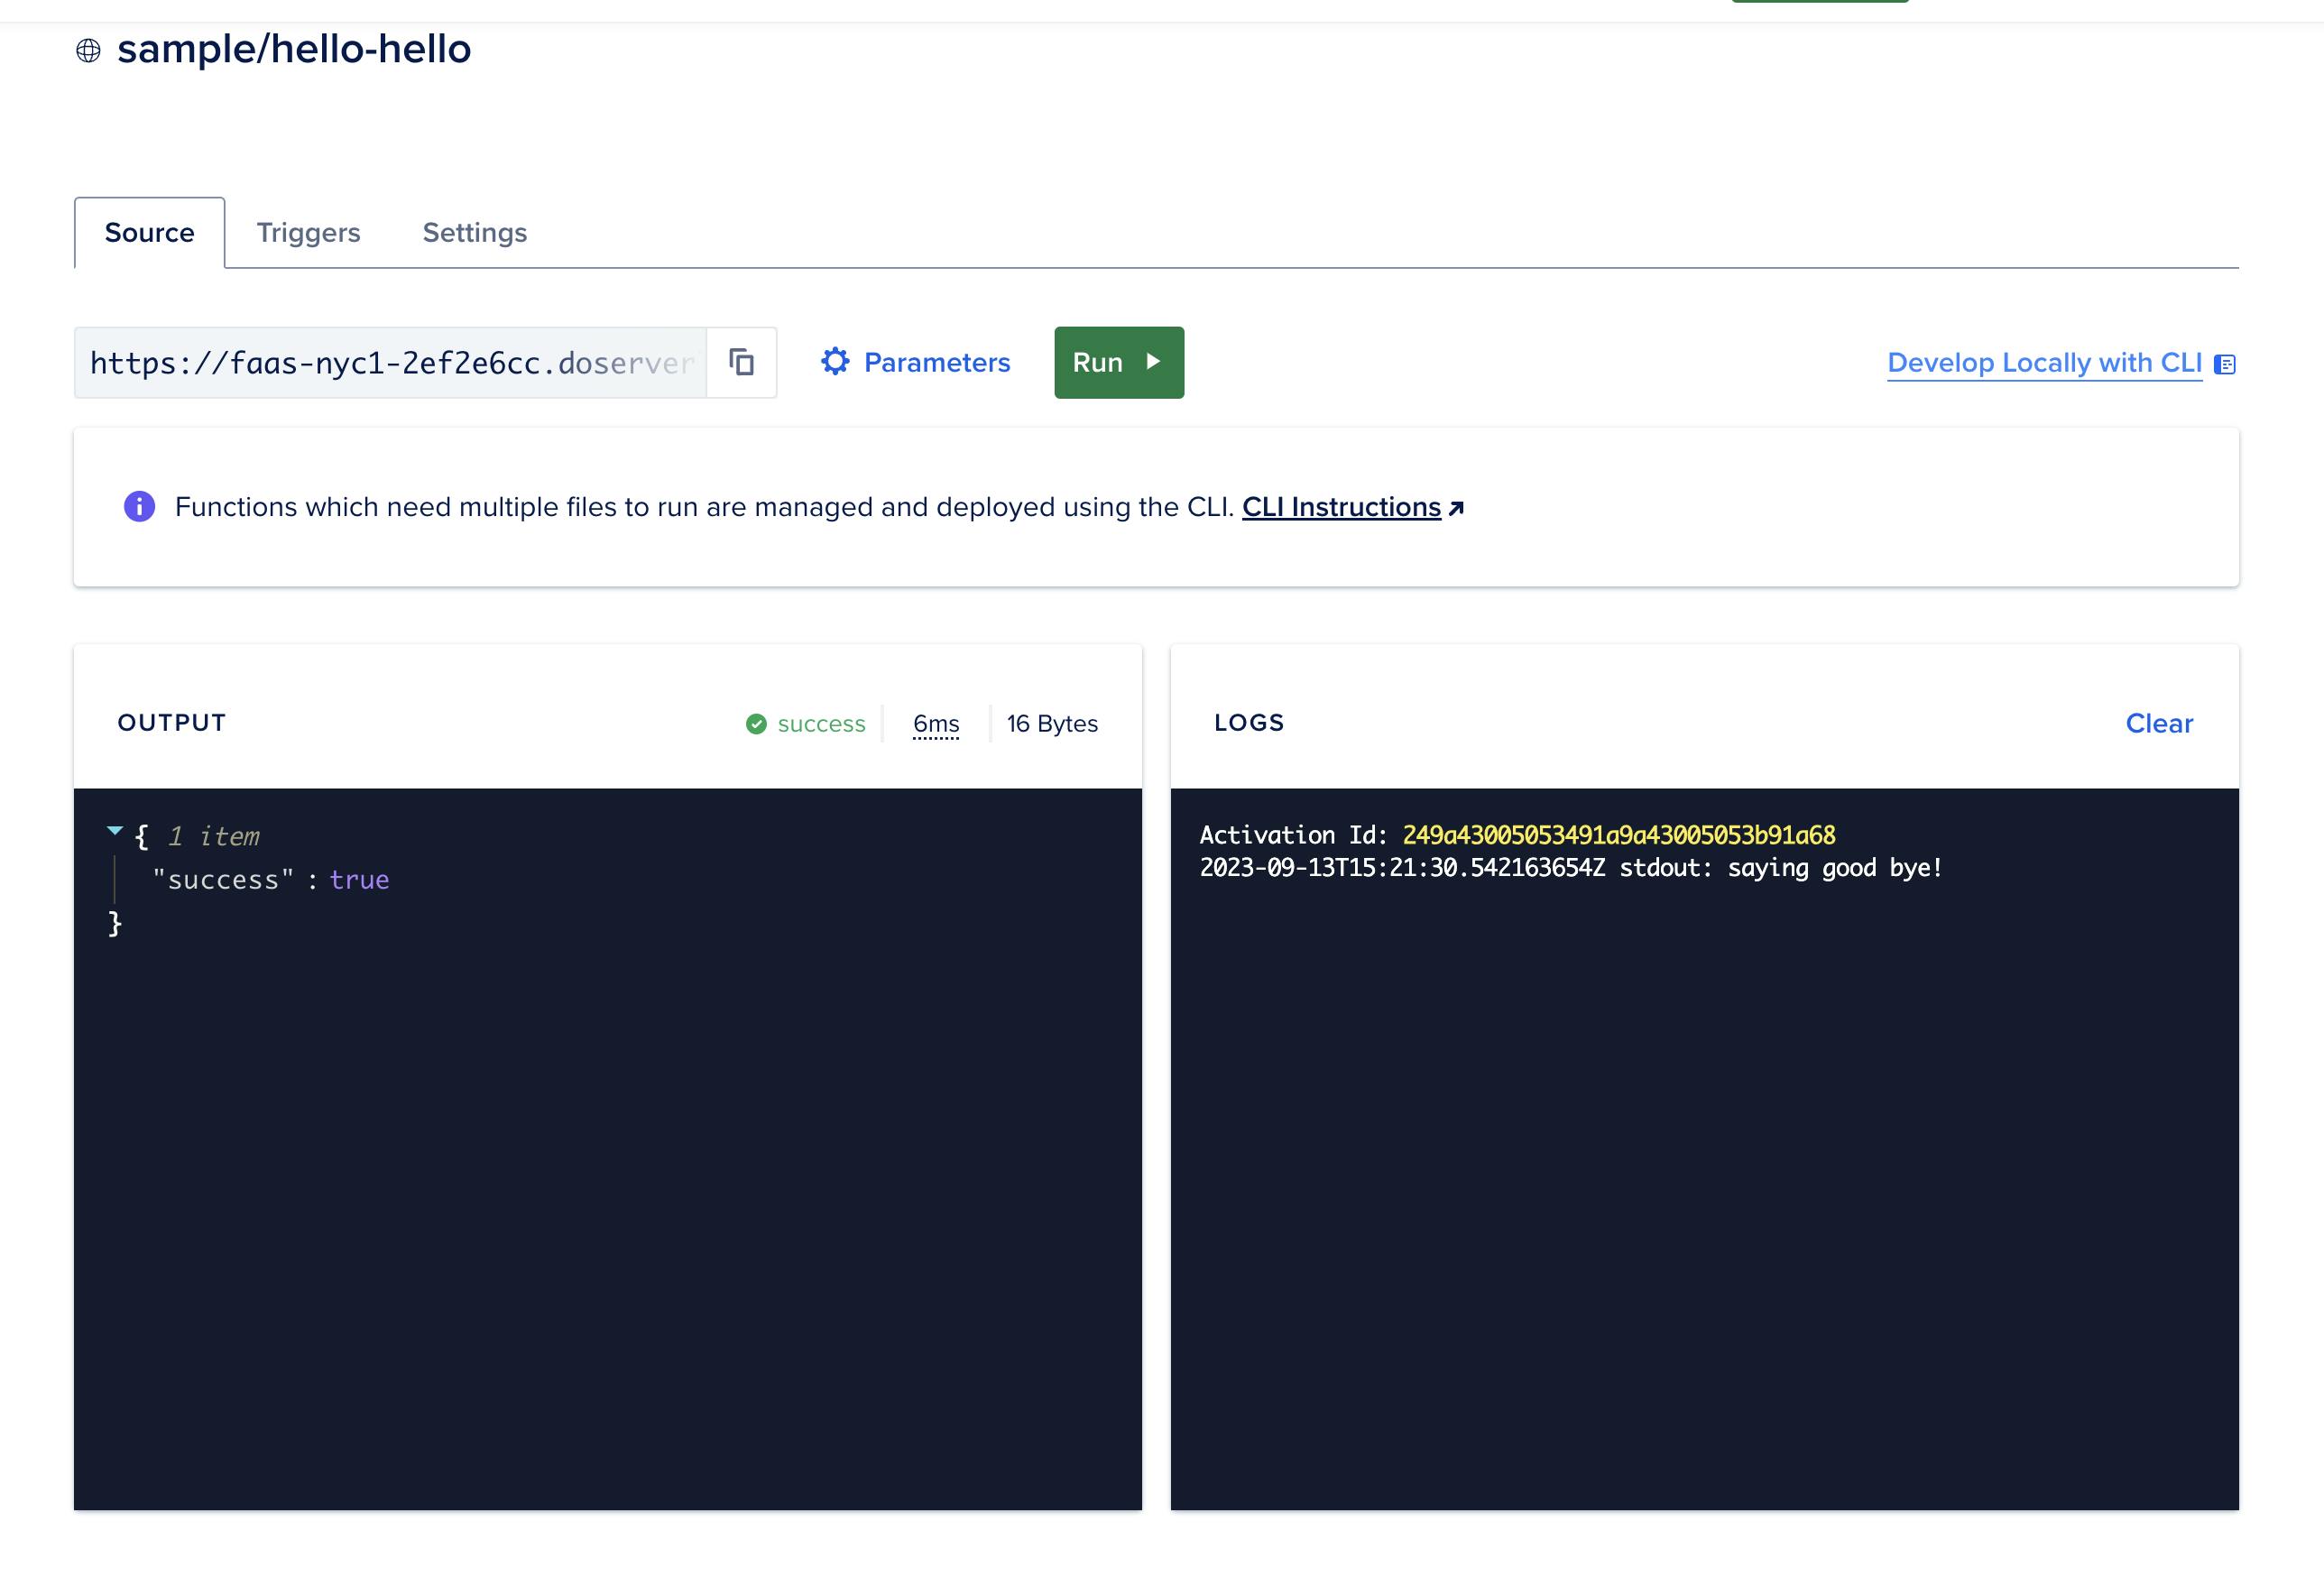
Click the function name to see details, once there you can run the function from here and pass parameters. You can also see the triggers if exist and the settings we defined in the project.yml file.
We did it! A basic HTTP monitor using Digital Ocean serverless functions! 💫
Feel free to leave your comments or suggestions.